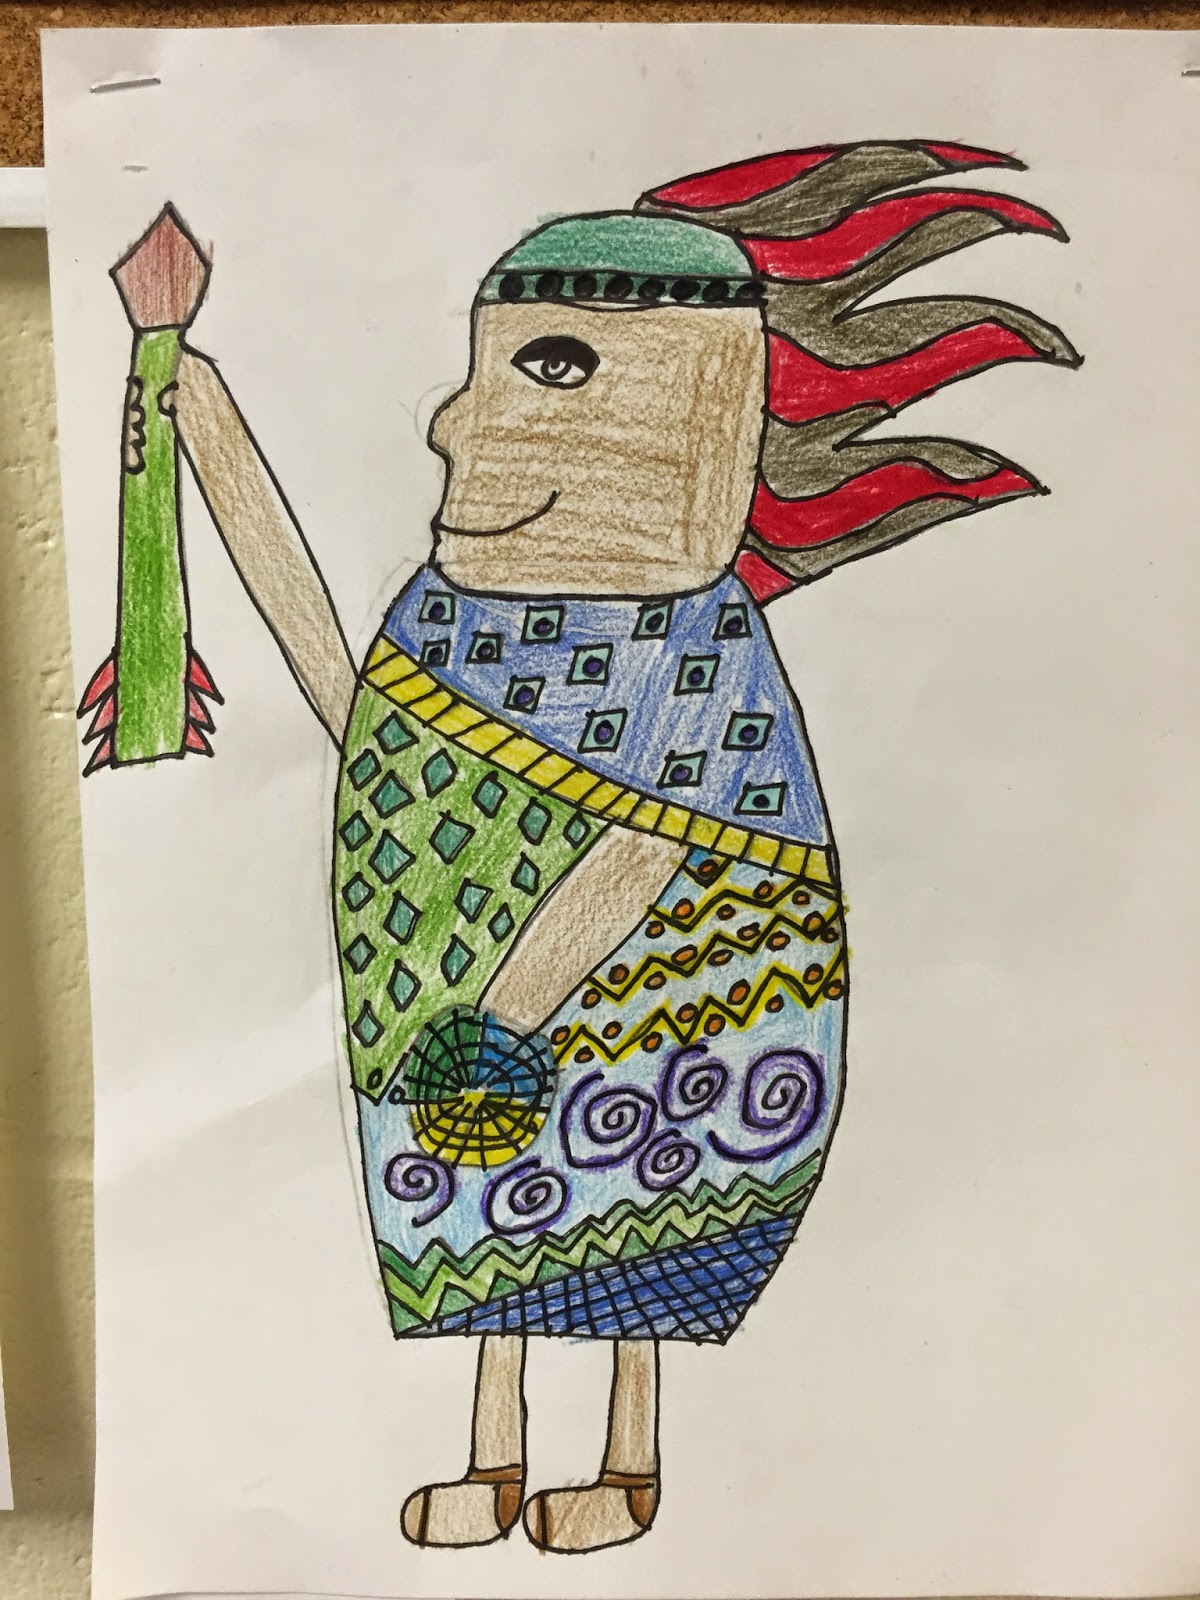
This year has been a bit of a change for me as we are following a district-wide scope and sequence. It has been a year of new projects, new successes and of course of few failures! The art show this year did not have a theme as I have in the past however I did do something new with 3-4th grade. This year I saved all of their art show projects from the fall and in December they picked and labeled them on their own, took Artsonia pictures, and put them in a folder to save until the show. In the spring we did the same thing. It was SO NICE to not have to pick and label as much art this year by myself! I also think it gave the students more ownership over their art show work. I hung the 3-5th art by their classrooms, but K-2nd I still had sorted by project. I will do one blog post per grade level. :-) Enjoy!
FIRST GRADE:
European Castle
Students looked at a variety of castles all over Europe. We talked about what the neutral colors are. First students created a background on 12x18 paper. We drew with pencil then traced with sharpie then set them under our chairs. Students got a 9x12" paper and did a tri-fold. I demoed how to paint gray "stone" on the top two sections, and dark brown "wood" on bottom third. Students were given a plate with black and white next to each other at the top, then brown and black together at the bottom. Students got white on their brush then a corner of black. On their paper they made a forward "C" and backwards "C" to create a circle for each stone. Once finished with each row of stones, they washed their brush and wiped the extra water on the edge. Students got brown on their brush and a little black, then went back and forth in long strokes to look like wood.Next class, we cut our castles into the pieces required to build the castle. We colored our backgrounds then glued the castle on top. We learned about color theory and texture for this project.
Jazzy Jungle Cat
The directions for this project can be found in Dynamic Art Projects for Kids.
I found this adorable project at this blog: http://www.artwithmre.com/2012/05/paper-sculpture-creatures-1st-grade.html?m=1
We read the book Beekle by Dan Santat first so the students could get ideas of imaginary creatures- plus it is just an adorable book! The other thing I added was I pre-cut the paper to fit around the TP rolls and had them all glue it at the same time. I knew it wouldn't stick unless they held it for a long time... so I decided to pull up some Kids Bop on Spotify and told the students they could dance by their chairs BUT they had to hold their TP rolls (with the paper glued on) the ENTIRE song. It was very cute watching the first grade dance moves, plus by the end the paper stuck just fine! :-D
Texture Bowls
Students each got a slab of clay- I called them one table at a time to my slab roller and one large slab creates a piece long enough to cut into 4 pieces. Students used rubber stamps, marker lids, glue lids, clay tools and sporks to create texture patterns on their slabs. I also passed out foam bowls (small ones). When the students were finished with their texture pattrns, they flipped the slab over on the bowl so it would dry in the shape of the bowl. After fired, students painted the inside and outside with tempera cakes. (Not food safe!)
Crazy Hair Day
We read the book Crazy Hair Day by Barney Saltzburg. Students learned all sorts of different lines and practiced first on the back. Next we drew a half circle (semicircle) for the head. We drew only eyes on the face. Students used marker to draw different kinds of lines out from the head to look like hair. Students used crayon to color between each line.
Koi Fish
Students learned some basic facts about Koi Fish and Japanese Water Gardens. We drew the main fish in the middle then more around the edges either coming in or out of the picture plane. Students traced with sharpie, painted the fish warm colors, and the water garden cool colors. Last I came around and sprinkled salt on their water to create a "sparkling water" look.
Winter Fox
Students used shapes to create their fox. We traced with sharpie and colored with crayon. Last students used yarn and cotton balls to create actual texture.


