Thursday, November 6, 2014

Fall Projects

Hello fellow art teachers or other interested parties... I decided to post some of the fall artwork we have finished recently. Enjoy!

3rd Grade: Texture Scarecrow


Students listened to the book Scarecrow Pete by Mark Kimball Moulton (Author), Karen Hillard Good (Illustrator). We did a draw-a-long and using basic shapes to create the torso, head, arms and legs of our scarecrow. We added a horizon line. We talked about space, and how somethings in our background should look close and some should look far away. Students added detail with pencil then traced with sharpie. The next class, we talked about texture. We also discussed the difference between implied texture and actual texture. Students used texture plates and paperless crayons to create implied texture, and yarn to create actual texture.

2nd Grade: Black Cat Weaving


Students started by learning how to weave. We folded out 6x9" black square in half and cut slits. Then we wove gray strips into it. Next students cut a branch out of 3x12" brown paper. We discussed that these are all NEUTRAL colors. Students glued the branch and cat body to dark blue paper. Next we made a head out of a 6x6 square I had cut diagonally into a triangle. Students cut the corners off the triangle to make cat ears. Next class, I passed out WARM colored paper and texture plates with leaves on them. Students used paperless crayons to get rubbings of the leaves. They cut them out and glued them to their branch. Last, they used black oil pastel to add a tail and paws, and white oil pastel to add a face and stars in their sky. 

1st Grade: Pumpkin in a Wagon


Students learned about mixing the primary colors to make the secondary colors. We started with a 9x12" white paper and a 3x6" purple rectangle. Students glued the rectangle near the bottom of the white paper. We drew wheels and a semi-circle for the pumpkin. Students were given primary colored tempera paint. We painted our pumpkin yellow, then swirled a tiny bit of red in for make orange. Those went in the drying rack. I then passed out white 12x18 paper. We folded it in half the long way then traced the line with pencil to create a horizon line. The students painted yellow then blue for green grass, and red with blue for a purple sky. Next class, the students cut out their pumpkin and wagon and glued it to the middle of their grass and sky paper. They used oil pastel to create a night sky and fall leaves. 


Thursday, August 28, 2014

The Prairie Branch Phoenix!

Each 1-5th grade student made a feather during their first art class of the year. I put all the feathers together to create a giant bird to hang in the commons for the year. It is hung with a combination of poster strips and strapping tape. The students (and teachers) love it!


Friday, August 8, 2014

2014-2015 Bulletin Board

Had to post some pics of the bulletin board I spent all day making... love the "fly free" and "hope is the thing with feathers" ideas so made them apply to my art class. :-) I found a few ideas on Pinterest (see my Bulletin Board pins here: http://www.pinterest.com/jagnew/bulletin-boards/) including how to fold the origami bird. I made the first one from a 7x7" square stapled to the board, the second with 9x9" hung with fishing line, and the last is 12x12" also hung with fishing line. The board itself says "Welcome to Art Class" on the ribbon at the top, then "Let your Imagination Fly Free".

Here's hoping this school year will be the best yet!


Wednesday, March 19, 2014

3rd Grade Art Club

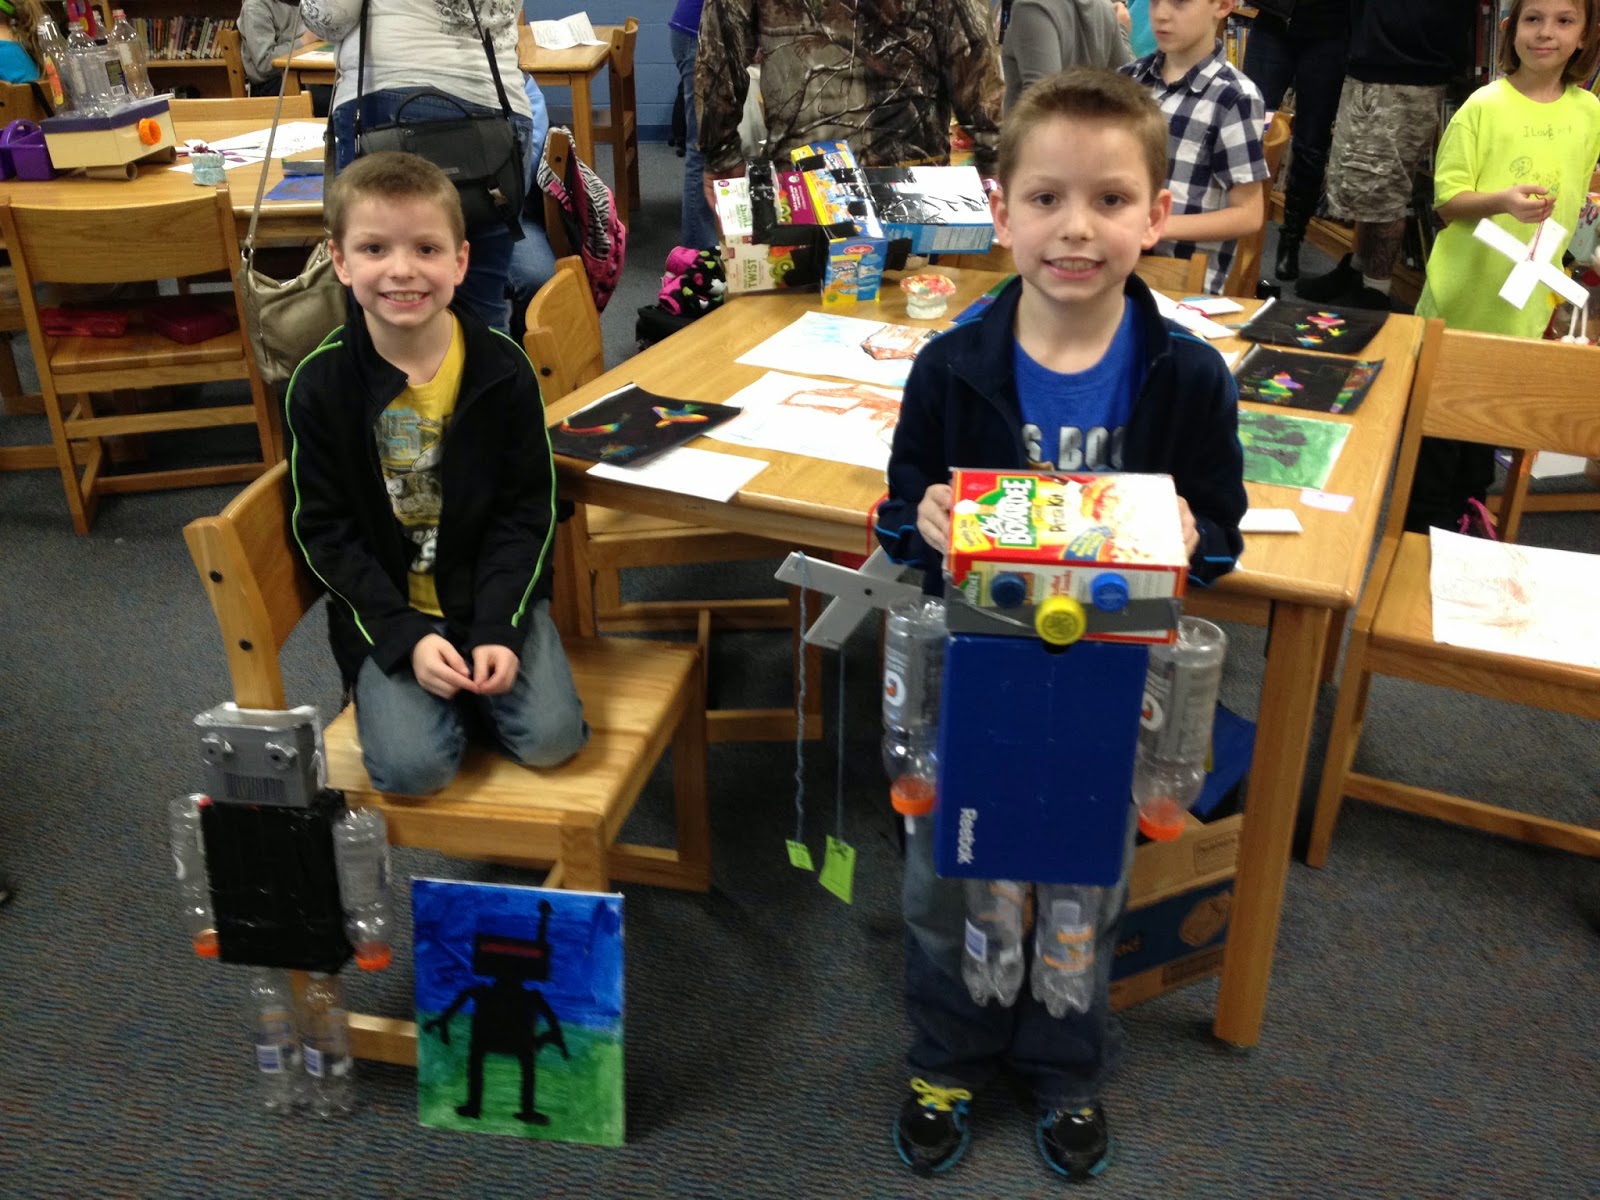
3rd Grade Art Club has just come to a close. We made a variety of projects including a crayon transfer t-shirt, clay bird bath, a mobile, a Van Gogh inspire oil pastel drawing, scratch art, a canvas painting of a robot, and the student's favorite: the recycled robot! Enjoy the pictures.


Tuesday, February 25, 2014

Year (so far) In Review

We have been busy bees this year at Prairie Branch Elementary! I realized since I love teaching about other cultures and art around the world I had not spent much time teaching about the "masters" from Western art. So once again I have been coming up with new lesson plans with the help of amazing art teacher's blogs and Pinterest posts! Here is a sample of what we have been up to.

Kindergarten: Cezanne Fruit Still Life


 We read the book How Are You Peeling? Foods With Moods by Freymann and Elffers. The photographs in this book are hilarious- the authors took real fruit and veggies and gave them facial expressions. This gives the students a good look at the colors and textures of fruits and veggies. We then looked at the artwork of Paul Cezanne focusing on his still life paintings. I had a bowl with real looking plastic fruit set up in the middle of the room. With me guiding our drawing, we drew our bowl and fruit inside. I encourage the students to draw large- the apple has to be as big as your fist! We drew in pencil then traced with sharpie. The next class, we painted with tempera cakes.

First Grade: Dali's Elephant


Students looked at the artwork of Surrealist artists including Salvador Dali. We talked about how Surrealist art is realistically painted, but it has something unrealistic about it. In The Elephants painting, we see two elephants with abnormally long skinny legs. We imitated this painting for our project using marker and chalk pastel. For complete directions check out this great blog! http://elementaryartfun.blogspot.com/2011/03/salvador-dali-elephants-and.html

Second Grade: Impression Sunshine

Students learned about the Impressionist art movement. We looked at a variety of Impressionist artist's work and noticed that they used short brushstrokes to create their paintings and focused on the way light hit things in nature. Since light was so important to the Impressionist I thought it was only appropriate to create a sun! We used the impressionist "dabbing" technique to create a cool color sky. We used a printmaking (stamping) technique using warm colors and marker or glue bottle lids for the sun. Next class we ripped the yellow paper up and collaged it on the blue paper to create a sun. Last we used gold metallic paint for the rays.

Third Grade: Van Gogh Flowers


For this project we looked at the many sunflower paintings of Vincent Van Gogh, and did a compare and contrast with them. First we did a draw a long with pencil on black paper to create the vase, table line, and flowers. Students chose whether they wanted to draw sunflowers or a different type of flower. Then I demonstrated how to trace a glue line with Elmer's school glue over their pencil lines. Students placed these on the floor by the wall to dry as putting them in a slanted drying rack causes the glue to run. Next class, we used chalk pastel to color between the glue lines. Sometimes I take the whole class outside and spray each of their artworks with clear spray paint, but it depends on the weather, wind, and if it is a class that can handle being outside without running around like crazy! ;-)

Fourth Grade: Japanese Bridge


Students looked at Impressionist artists such as Claude Monet. We saw how he would paint the same outdoor scene over and over again in different seasons and times of day. He liked to watch how light would change the scene over time. The artists also used small brush strokes instead of long smooth ones. Monet painted the Japanese Bridge on his property many times. We used this as the inspiration for our painting. We used liquid masque to create a bridge across our page the first day, then practiced small brushstrokes on scrap paper. The next class we painted dabs of paint all over our bridge paper to look like trees above the bridge and reflections of trees below. The third class we took off the masque, added highlights and/or shadows to the bridge and painted horizontal streaks of blue as well as waterlilies under the bridge to make it look like a pond.

Fifth Grade: Value Self Portrait


This was the 5th graders first project this year. We looked at Albrecht Durer's self portrait from 1484 that he drew when he was only 13 years old. It is done in black and white and has shading to make it look realistic. We learned about basic facial proportions and practiced drawing a face together. I took pictures of each student by my lamp to create a highlight and shadow on their face, then printed them in black and white. Each students drew their self portrait on white 12x15 paper. We learned VALUE refers to dark and light. We used dark, light, and medium values to make our portraits look 3D. We also learned if you VALUE something it means you care about it. We wrote things we valued around the edge of our portrait. 

Thank you for stopping by... hope to post more soon! :-)


Wednesday, May 15, 2013

Art Around the World Art Show

Had to post about our Art Around the World Art Show!
It went great. We had it in conjunction with Grandparent's Night and the book fair, so the turn out was awesome! The kitchen also provided cookies and lemonade which was fun! Each hall was a different continent, and the kids earned stamps in their "passports" for answering two trivia questions per continent. The answers were found by looking at the art, or reading the descriptions of the art. I tried to make sure each student had at least 2 pieces of art in the show, and there was at least one project per grade level in each hall (6 or more projects per continent) so that people would move around the whole school. Enjoy your "tour"!
 Welcome to the Art Show!
 Welcome to Australia/New Zealand!
 Colorful Koalas- Australia- 1st Grade
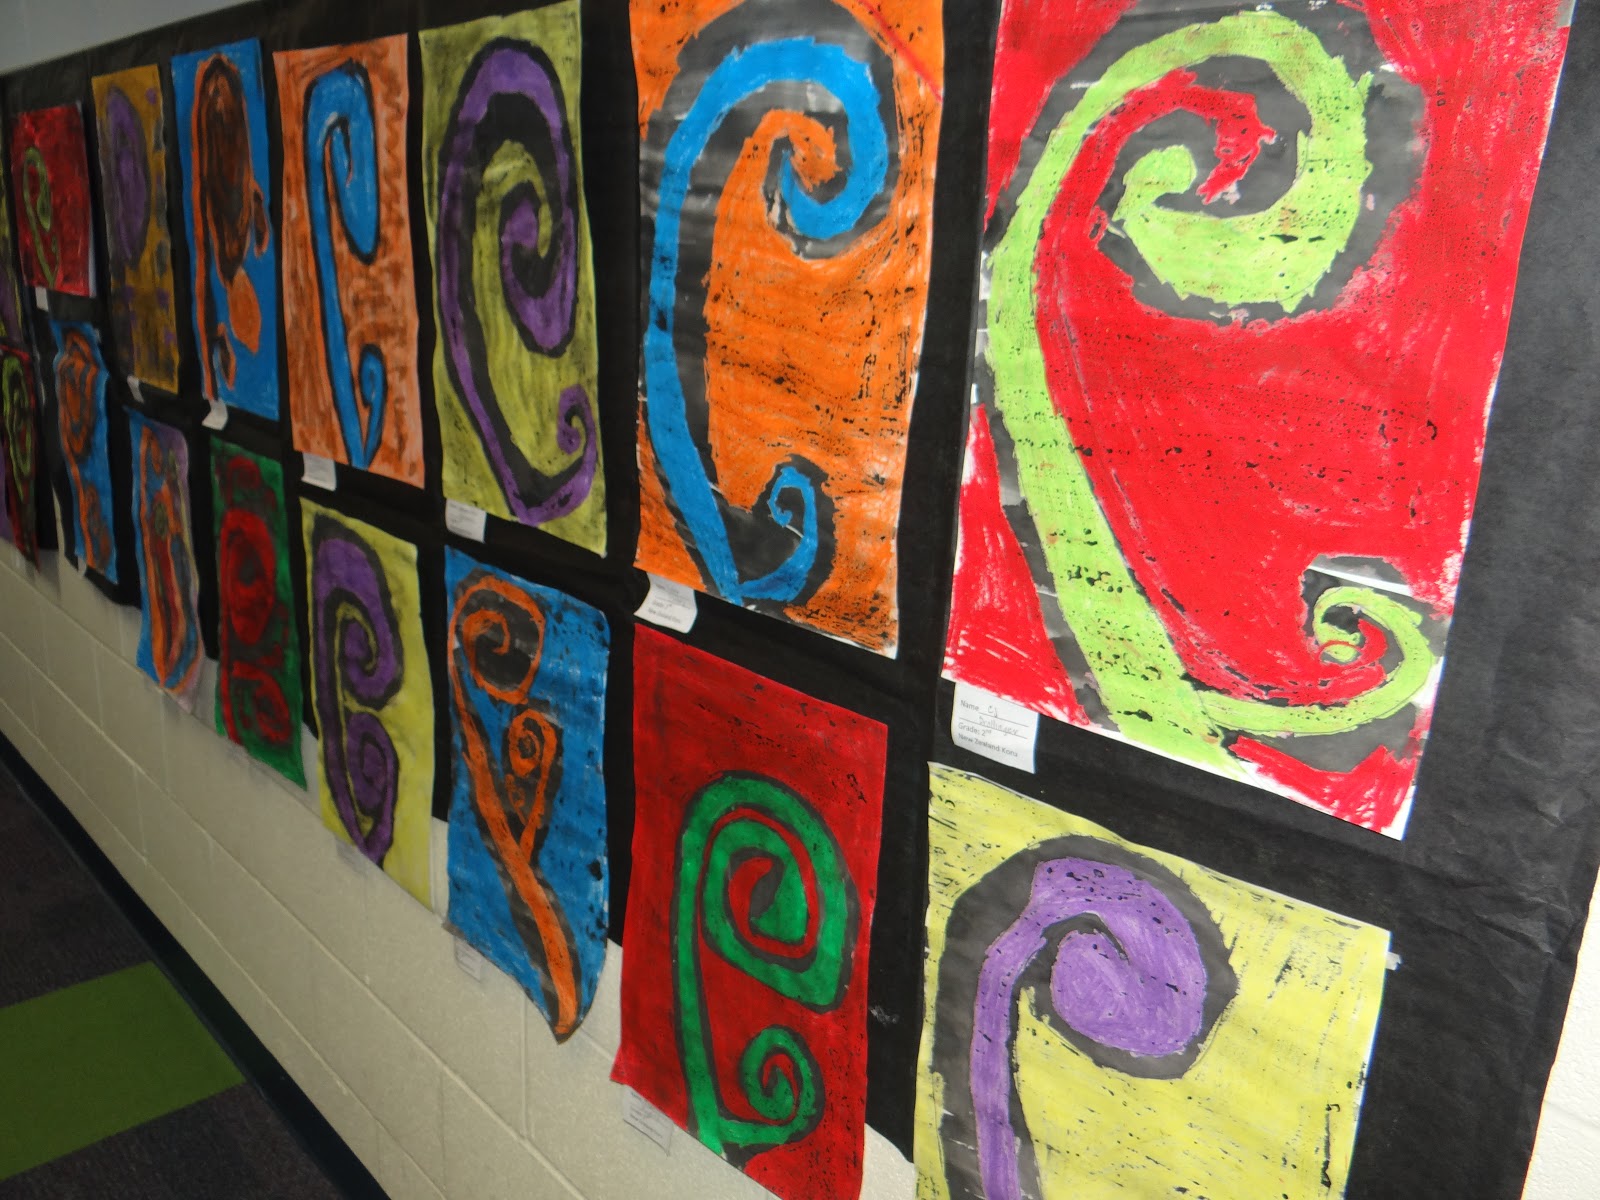
Koru Plant- New Zealand- 2nd Grade
Clay Fish- Great Barrier Reef Australia- 4th Grade
 
3D Fish- Great Barrier Reef Australia- 3rd Grade
Welcome to Europe!
 European Castles- 1st Grade
 Picasso's Posies- Kinder
 Russian Nesting Dolls- Europe- 5th
 Matisse- The Human Condition- Europe- 2nd
 Welcome to Africa!
 Nedebele Homes- South Africa- 4th Grade
 Stamping a passport!
 Aztec Warriors- Latin America- 5th Grade
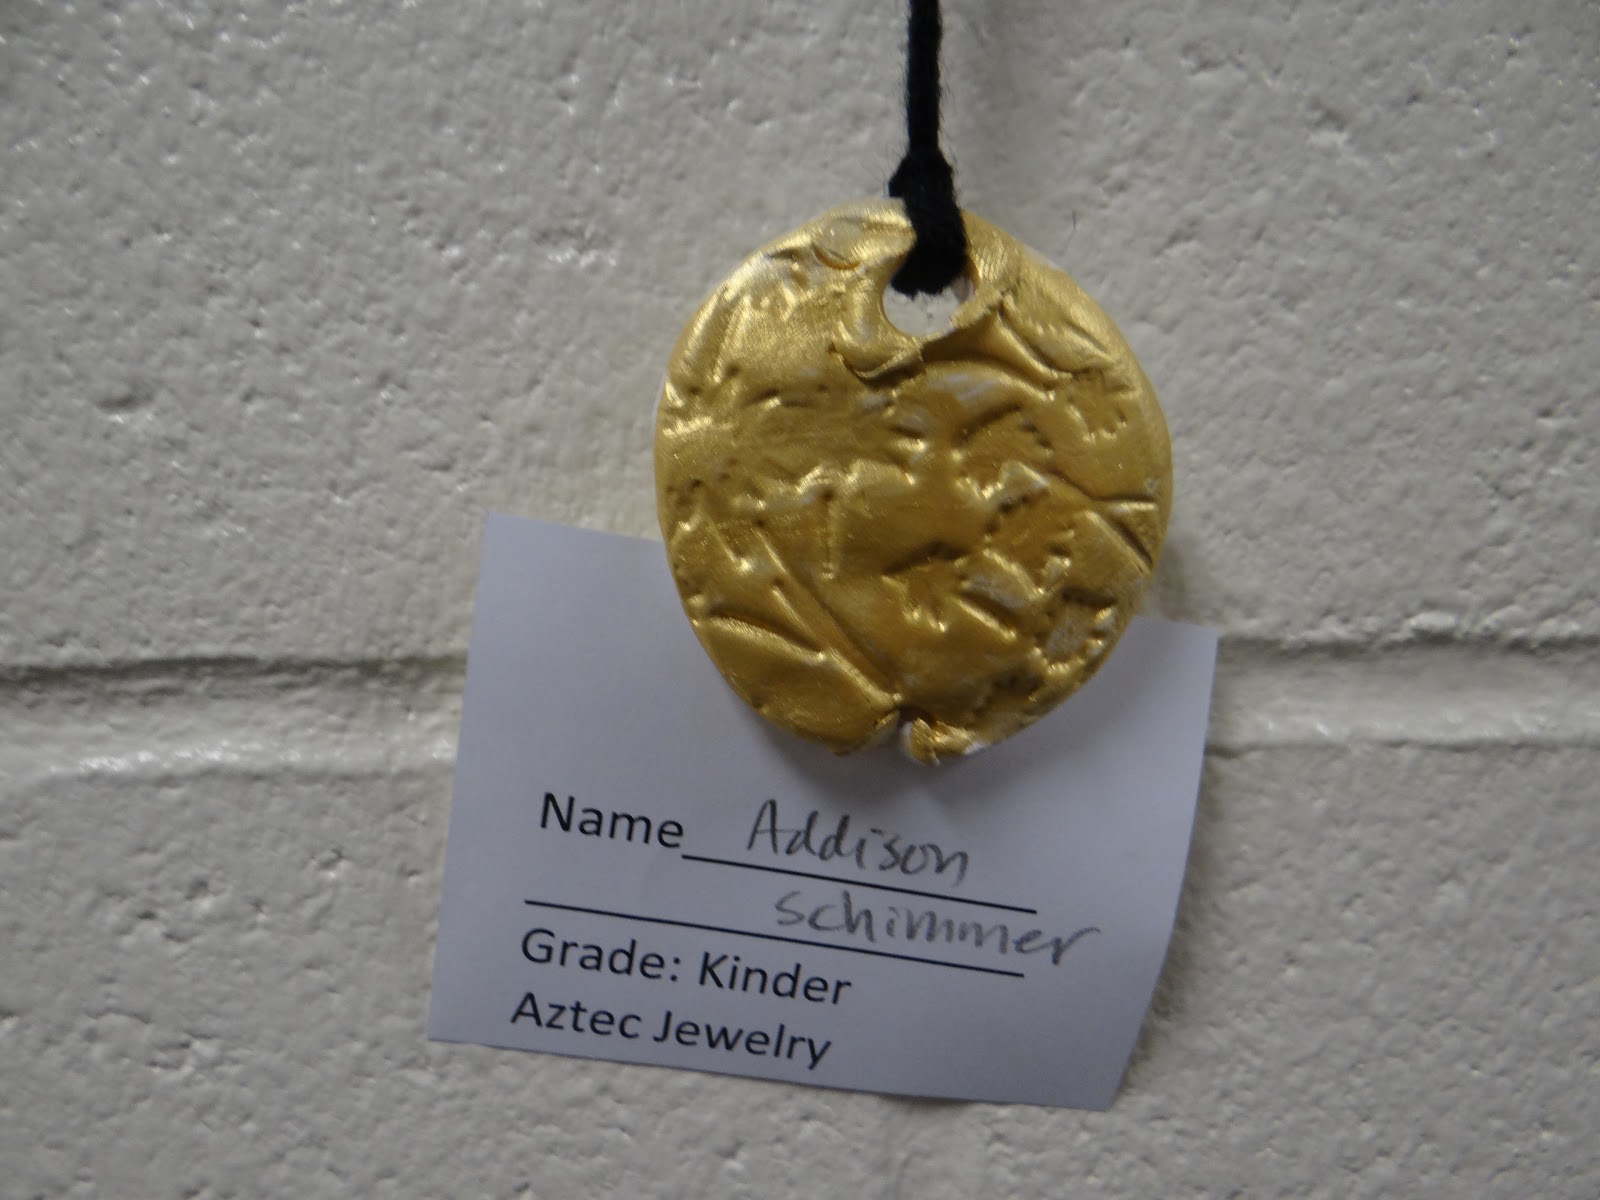
"Aztec Gold" Clay Pendant- Latin America- Kinder
 
 NW Coast Paintings and Native American Headdresses- North America- 4th and 1st grade
 Indian Peacock- Asia- Kinder
Chinese Dragon Book- Asia- 3rd Grade

My parents and grandparents surprised me by coming to the art show! Love these guys! Behind us is Adinkra Cloth- Printmaking- Africa- 5th Grade


Tuesday, April 9, 2013

Spring is here!

Spring is finally here! And with April started, the end of the year is in sight. I have about a month until the school wide art show! Our theme this year is "Art Around the World". I will post some pics of the show after it's over.

Here is a little of what we have been up to!

5th Grade: Aztec Warriors
My inspiration for this project can be found at Deep Space Sparkle. http://www.deepspacesparkle.com/2011/02/21/aztec-warriors/


Students looked at drawings of what historians think Aztecs may have looked like. We talked about profile view. Students used detailed patterns in the Aztecs clothes. This project took about 3 class times. One to draw with pencil, one to trace with permanent marker and start coloring with marker, and one to finish coloring. I rarely let the students put weapons or anything violent in their art, but I did let them have the choice of drawing an old fashioned weapon or something else in the warriors hands since they are supposed to be "marching off to battle" together. This project will go in our Latin America section of the art show!

4th Grade: O'Keeffe Flowers
I learned how to do this lesson at an art teacher's conference. It was originally in the September 2004 issue of Arts and Activities.


Students watched a short bio of O'Keeffe then looked at some of her close up flower paintings. I passed out photographs of flowers and gave the students 2 minutes to do a small sketch of the flower, making sure they zoomed in on it. We did this 4 times total with 4 different flowers. The students chose their favorite and drew it large on 12x12 white paper. We then did a glue line over the pencil. Black oil pastel also works nicely. Next class the students used analogous colors inside their flower, and contrasting colors in the negative space.
 
3rd Grade: Tinga Tanga People
Another art teacher in my district did this project with her students and I loved the patterns and bright colors. Thanks Tracey!
 

Students started by learning about Tinga Tanga, an artist that painted bright African paintings. Now the term Tinga Tanga Art is used for any African paintings done in this style. We started by using warm colors to paint our 9x12" background. Then we used cool colors to paint another 9x12" paper. On top of the three cool colors we used sponges, marker lids, and other objects to stamp shapes utilizing a printmaking technique. Next class we cut rectangles for clothes, and used black paper to cut legs, arms, and heads. Last, we used white crayon to add detail to the limbs and heads.
 
2nd Grade: Sunny Skies
Love the way these brighten up our school's hallways!


We stared by making our background on light blue 12x18" paper. In the first example, students used sponges to give their sky a textured look. In the second example, I had them use cool color swirls to look like wind. I found the students had a hard time handling the mess of sponge painting, so the swirls worked better. For the sun, students first painted the warm colors on 9x12 paper, then used sponges, marker lids and other items to "print" on their paper just like the third graders did for their Tinga Tanga people. Next class time, the students ripped their warm color paper in to about 2x2" sections then glued them collage style in a half circle on the side of their paper. Last we used gold paint to make the sun's rays.
 
1st Grade: Native American Headdress
I simplified this project from the blog That Artist Woman: http://www.thatartistwoman.org/2010/03/first-nation-headresses-art-project.html


Students started by tracing a half circle "rainbow" pattern to be the headband. We used Native American symbols to decorate the headband. We glued the headband to the bottom corner of 12x18 brown paper. Next we painted a 12x18 white piece of paper. We discussed what non-objective art is, and how we are just painting colors all over the paper, not trying to create a picture of anything. Next class, we traced feather patterns on the back of our painted paper and cut them out. We glued them next to the headband to look like they were sticking out of it. Last we each chose 3 real feathers to glue on top of the paper feathers. Could also add yarn with beads hanging down from the headband if time allowed!

Kindergarten: Picasso's Posies
This is a project I have done since my first year of teaching. I think I learned it during my student teaching. Thanks Denelle!


Students compared and contrasted Picasso's painting Guernica with his paintings about peace such as the inspiration for this project Hands with Flowers. Students chose from a variety of skin colored paper and traced and cut out their arms and hands. Next we glued them overlapping each other onto 12x18 white paper. Last students used tempera cakes to make stems and flowers behind their hands. Beautiful!